


Getting to the Heart of Infrared Heat
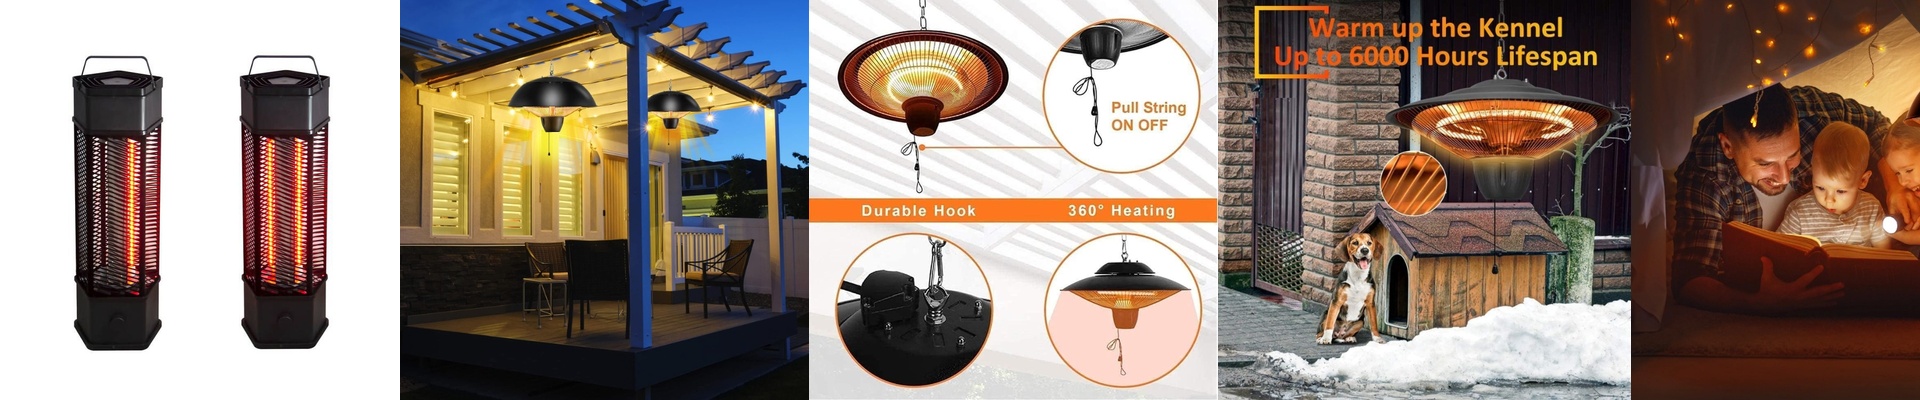
Here’s the thing about our heavy-duty infrared heaters. They’re built for the gritty, real-world places where you can’t afford to mess around—factories, garages, warehouses. Where you need heat, and you need it now. Unlike those old convection systems that waste time warming up the whole room, these units go straight to the source. They beam energy directly onto the objects, the people, the machinery. It’s all about line-of-sight. If the target isn’t in the beam, the energy is just wasted. That’s why where you hang the unit—the height and the angle—is absolutely critical.
The One Variable You Can’t Ignore: Mounting Height
Think of it like this: the farther the heater is from what you’re trying to warm, the weaker the heat gets. It’s not a small drop-off, either. Double the distance, and the intensity plummets to about a quarter of what it was. And with a heavy-duty unit, that effect is even more dramatic. For most workshops, we usually suggest hanging the heater between 6 and 8 feet high. It’s a sweet spot that gives you a wide coverage area while still packing enough punch to warm surfaces and objects effectively. Go too low, and you’ll end up scorching the floor or a piece of equipment. Crank it up too high, and the heat gets so thin it barely registers, forcing the unit to run non-stop without ever hitting the right temperature.
Angle and Focus: Finding Your Spot
The angle you set the heater at is what controls the footprint of the heat. If you point it straight down at 90 degrees, you get a super-intense circle of heat right underneath. But if you tilt it, you spread that beam out, covering a larger area with a gentler warmth. This is great for heating a wide aisle or a big workstation. But there’s a trade-off. Tilting it extends the reach, but it also dilutes the energy density on the target. So you need to make sure the wattage is right for the intensity you need at the very edge of that beam. This way, you’re using a precision tool, not just a big, bulky space heater.
The Secret to Getting It Right
The real magic happens when you nail the height and angle during installation. That’s how you get the full power out of the unit. Take a good look at the space. Figure out exactly what needs to be warmed. Then set your mounting points to make it happen. When it’s done right, the infrared energy hits exactly where it’s needed. No waste. And your energy bills stay in check.
The Trade-offs of a Powerful Tool
These heaters are beasts. They’re built to take a beating in tough environments and deliver intense heat almost instantly. But with that kind of power comes a little responsibility. The surrounding infrastructure has to be able to handle the heat. Make sure your wiring and mounting hardware are rated for the temperature, and plan for some ventilation to manage the local air temperature. When you get the installation right, a heavy-duty infrared heater becomes a precision instrument, not just a heat source.
Setting Up for Success
When you’re wiring up one of these heaters, you’re not just adding heat. You’re designing a thermal system. The height you choose determines the intensity, and the angle determines the spread. For the best efficiency, map out the cold spots. Position the unit so the beam hits the target area dead-on. Then lock in the angle. This direct approach makes sure the energy output matches exactly what the job needs. A smart mounting strategy means no wasted kilowatts. It ensures the heat lands right where the work is.
The Real Story on Height and Angle
Mounting height is the main dial for controlling the heat intensity. Get it wrong, and the heater will run constantly without actually solving the problem. Get it right, and it delivers targeted warmth exactly where you need it. We build these heaters to be tough and reliable. You install them to be precise. Together, we make sure the heat hits the mark, every single time.
How It Works in the Real World
In a workshop, a properly mounted infrared heater keeps work surfaces warm, preventing materials from getting brittle and making the crew more comfortable. In a warehouse, it keeps loading docks from freezing without having to heat the entire building. The key is treating the installation as part of the design. Measure twice, mount once. The physics of it all doesn’t forgive shortcuts.
The Details That Matter
Heavy-duty infrared heaters are simple to install, but the details make all the difference. The height and angle you choose are what define the system’s performance. Match the unit’s output to the target’s needs, and the whole thing works the way it was meant to. This isn’t guesswork. It’s engineering. The numbers tell the story.
Height and Angle: Your Controls
Height controls the intensity. Angle controls the spread. Together, they give you targeted heat. Install with intention, and the heater will do the rest.
The Execution
When you hang the heater, double-check that the mounting hardware can handle both the weight and the heat. Make sure the electrical connection is solid. Then, set the angle to hit the target zone. That’s how you get the job done right.
The Designer’s View
We design for performance. You install for precision. The result is a thermal system that just works. No fluff. Just heat where you need it.
The Core Truth
Mounting height isn’t an afterthought. It’s the heart of infrared heating. Set it correctly, and you get the performance you paid for.
The Process for Success
Plan the installation. Execute the mount. Verify the angle. That’s the process that works.
The Simple Reality
The heater’s power is fixed. The installation is what determines how effectively that power is delivered. Make the installation a priority.
The Outcome
Targeted heat. Low energy waste. Effective operation. That’s the goal.
The Takeaway
Height and angle are your tools. Use them to control the heat. Install with purpose.
The Last Word
Precision installation is what makes it all work. That’s the rule.
The Final Note
Install it correctly. Work efficiently. End of story.