
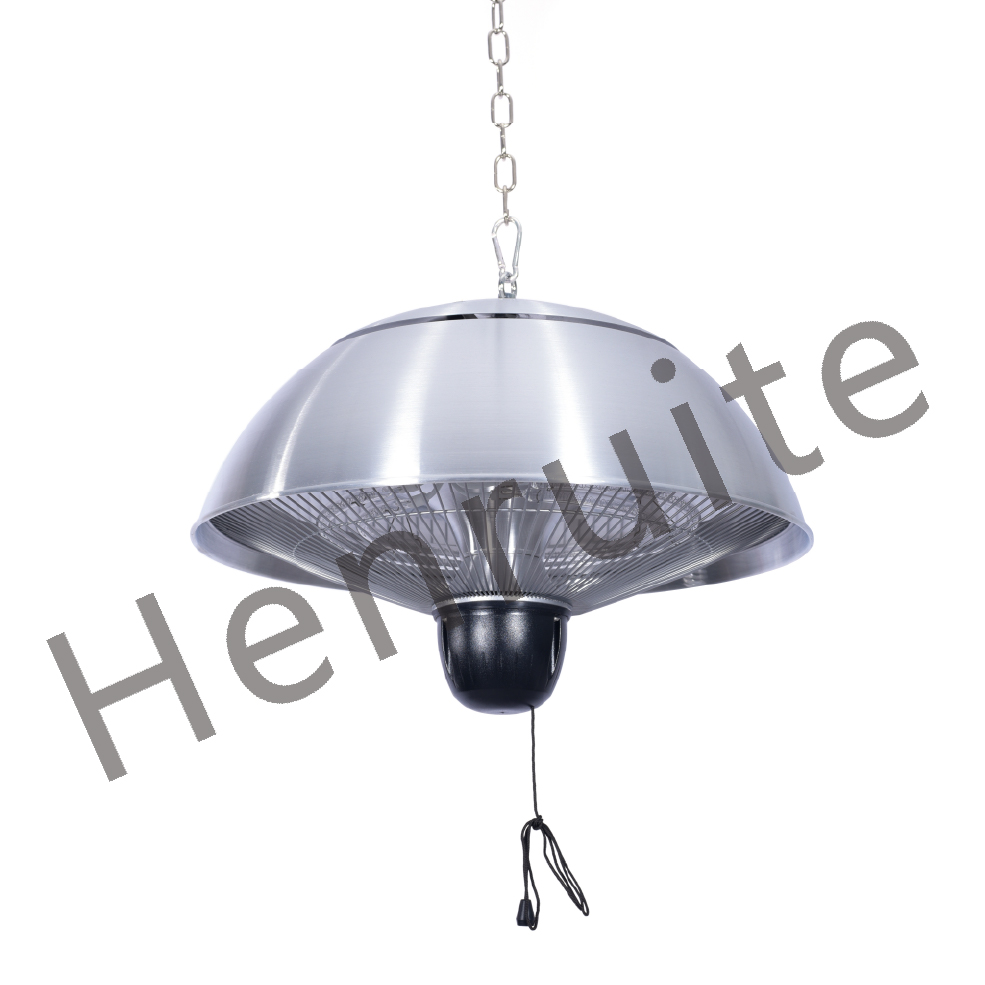
Why Your IR Heaters Keep Dying (and how to actually fix it)
Here is the honest truth about IPX4-rated heaters: most of them don’t fail because the outer shell is weak. They fail because of the lead-wire entry point. Think of it as the “Achilles heel” of the whole system. When you’ve got a splash-proof infrared heater, the spot where the electrical wire meets the heating element is where the real battle happens. Heat likes to travel. It migrates right up that wire, and that’s when standard insulation starts to give up. The problem with the “easy” way A lot of shops just use basic silicone potting or a cheap gasket and call it a day. But in high-wattage IR setups, those materials basically bake. They get brittle. They crack. Once that seal goes, moisture finds a way in. Suddenly, you’re dealing with short circuits or terminals that oxidize way too fast. It’s not a housing problem—it’s just a case of the wrong materials meeting too much heat. Doing it the right way We do things a bit differently. Instead of just “plugging the hole,” we use a multi-stage process. We’re talking high-temp fluoropolymer sleeves and ceramic-to-metal seals. It creates a real physical wall that keeps water out, but it’s flexible enough to let the wire expand and contract as it heats up and cools down. Compare that to the off-the-shelf stuff. Those often use plastics that start to warp once they hit 120°C. Our seals stay airtight even when the element is screaming at peak temperature. It stops that annoying “wicking” effect where moisture literally crawls along the wire insulation straight into your electrical contacts. One small catch There is a trade-off, though. Because the sealing is so much beefier, the lead wires feel stiffer. You can’t just bend them into a sharp angle. If you kink the cable during install, you might actually mess up that internal seal. Just give the cable a gradual, gentle bend radius, and your IPX4 rating stays safe. Do that, and you can finally stop the cycle of replacing burnt-out heaters every six months.