Getting the Heat Right for Glass R&D
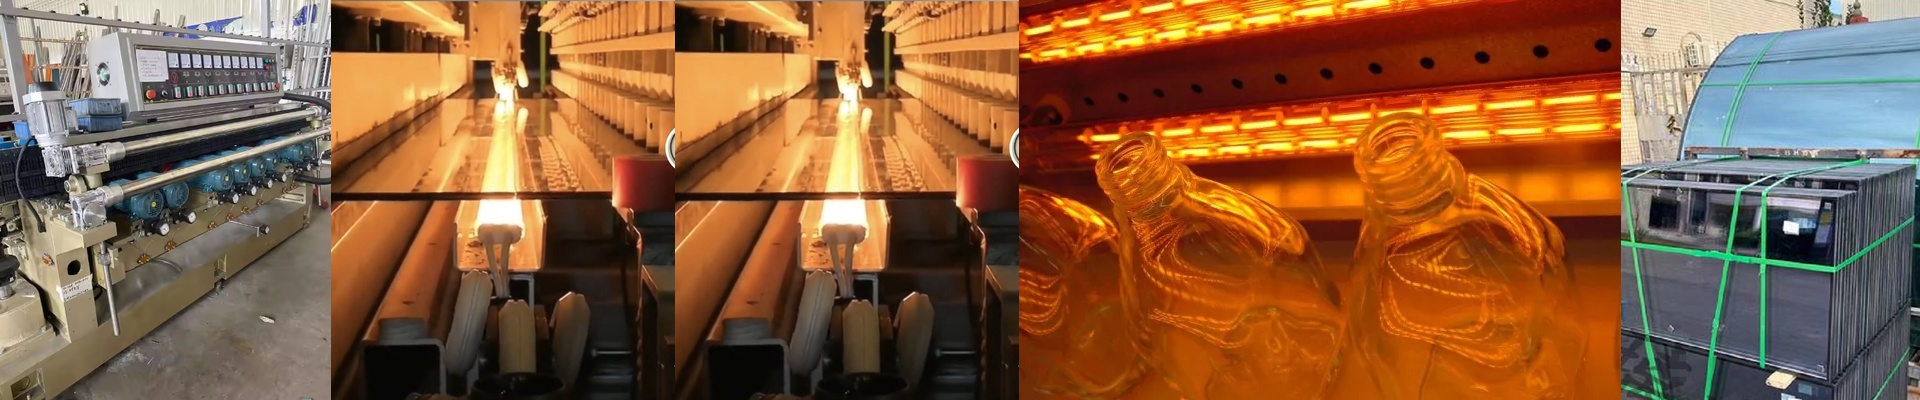
If you’ve tried using a standard, off-the-shelf infrared lamp for glass research, you probably noticed the problem pretty quickly. They just blast heat evenly across the whole tube. But when you’re messing around with new glass materials, “even” isn’t usually what you want. You need a gradient. That’s why we don’t just look at the size of the lamp. We focus on the power density—basically, where the heat actually lands. It gives you a lot more room to play with your parameters.
It’s all about where the energy goes
Most engineers make the mistake of just looking at total wattage. For precision annealing, that’s a trap. Instead, we play with how the filament is wound and spaced. By tweaking the ohms per millimeter, we can create specific “hot zones” and “cool zones” inside the quartz tube. It means you can actually simulate a specific cooling curve or hit a precise stress-relief point in your sample. It’s a lot more surgical.
More than just changing the length
We do more than just make the tube longer or shorter. We adjust the wattage-to-length ratio to hit the exact heat flux your material needs. Need a massive spike of energy right in the center, but a gentle taper at the ends so your glass doesn’t crack at the edges? We build that directly into the geometry of the filament. It turns the lamp from a basic heater into a real laboratory instrument.
The reality check: Heat and Hardware
Here’s the thing: when you cram a lot of power into a small space, things get hot. Really hot. That extra density puts a lot of stress on your lamp holders and reflectors. If you’re pushing for extreme heat in a short tube, your cooling system has to be up to the task. If it isn’t, you’re looking at melted sockets or blown connectors. We’ll give you all the raw thermal data upfront. That way, you can wire everything up and know it’s going to work without anything catching fire.